
Brookvent Aircycle 1.2/1.3/1.3+ Filter Cover Set (AS 90-09-908)
These replacement covers are the front cover tabs that protect your MVHR filters.
Product Code: (AS 90-09-908)


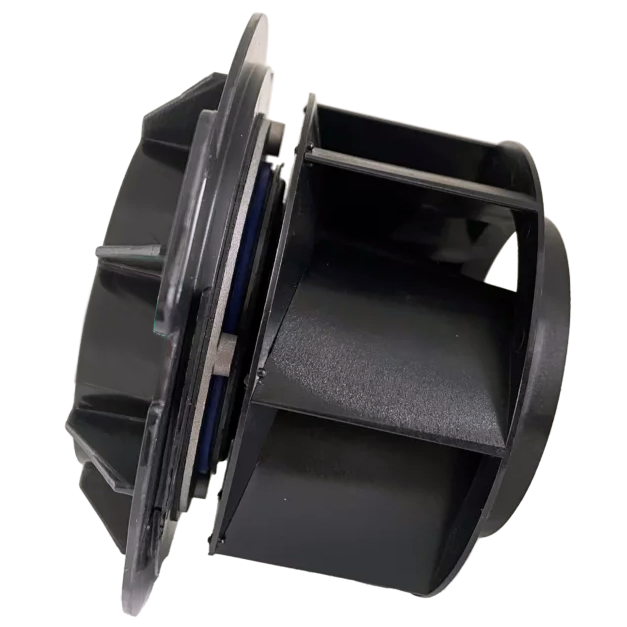
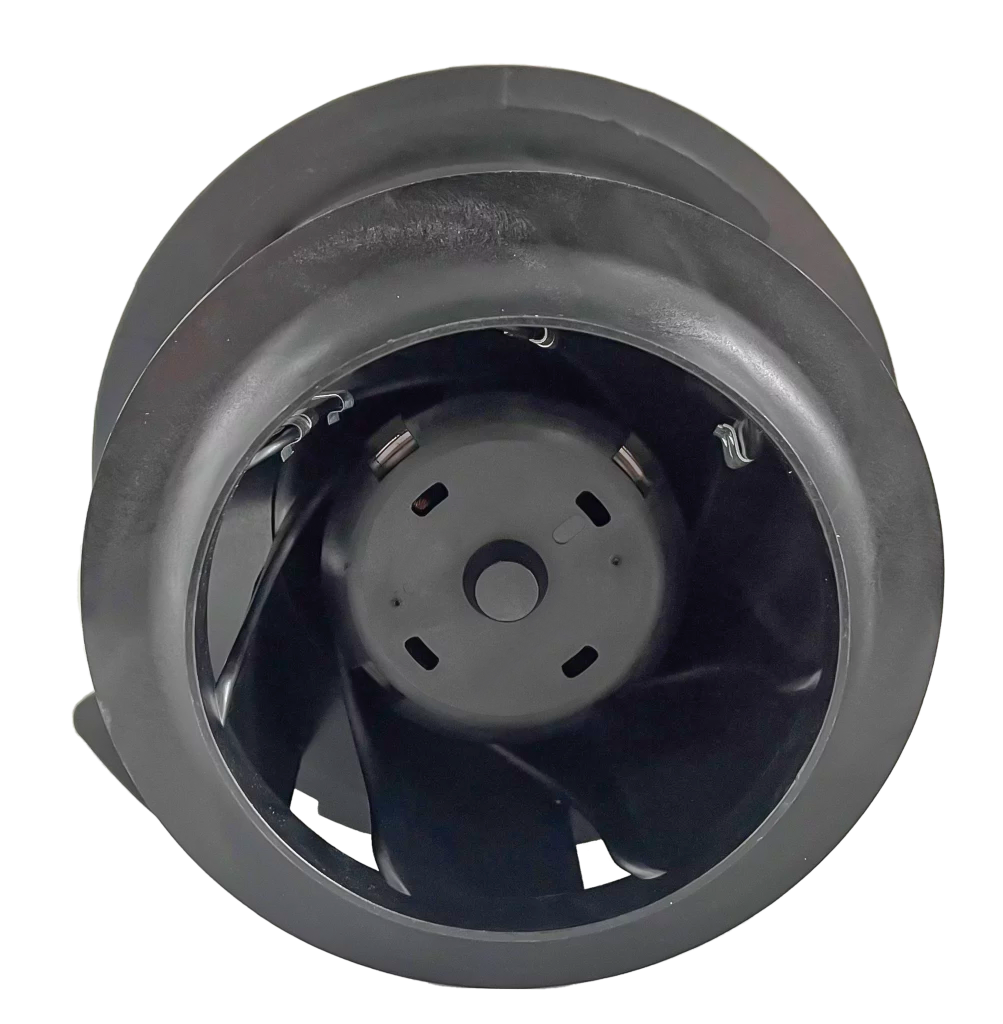
The Aircycle 1.3 heat recovery system has a very straight forward fan replacement process should the unlikely event of a failure. Product Code: AS 90-09-901
The Step Process:
Step 1. Isolate the unit from the mains and ensure all supply circuits are disconnected.
Step 2. Unscrew the front cover (4 No. screws) and remove the cover.
Step 3. Unplug the two leads from the fan.
Step 4. Unscrew the locking screw on the fan mount.
Step 5. Turn the fan mount anti-clockwise to the line marked on the fan case and then pull straight out.
Step 6. Place the new replacement component assembly in the case, lining it up with the line marked in the case. Push inward until flush with the front case and then turn clockwise to tighten.
Step 7. Refit the locking screw and connect the cables
Step 8. Re-fit the front cover and secure with the screws.
Step 9. Power the unit on at the isolator and ensure any supply circuits are reconnected. The unit will not need to be re-commissioned as the controller will hold the settings.
If you have any questions regarding this procedure, please get in contact with the office on 02890616505 or hello@brookvent.co.uk
https://brookvent.co.uk/product/aircycle-1-3-house-ventilation-system/
£185.00 + VAT
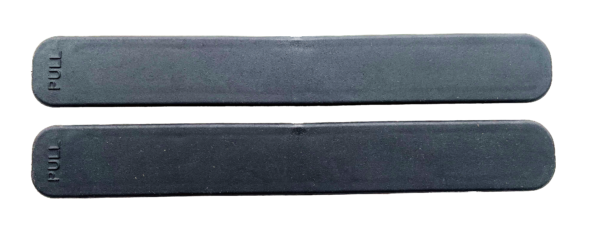
Brookvent Aircycle 1.2/1.3/1.3+ Filter Cover Set (AS 90-09-908)
These replacement covers are the front cover tabs that protect your MVHR filters.
Product Code: (AS 90-09-908)
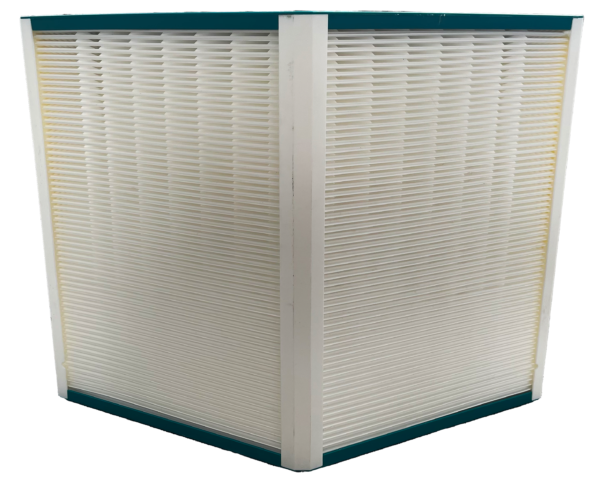
Brookvent Aircycle 1.3 Replacement Heat Exchanger Core
The Aircycle 1.3 Heat Recovery Core is protected by two filters. As long as the filters are regularly changed as detailed in the previous section there should be no need to access the system’s heat recovery core. However, should regular filter changes not be adhered to it may be advisable to access the system’s heat recovery core, and where required, clear it of any debris that may have collected.
Step By Step Process:
Step 1. Isolate the unit from the mains and ensure all supply circuits are disconnected. Never run the system with the MVHR heat exchange core removed.
Step 2. Remove both filters.
Step 3. Remove the front door panel via its 8 screws.
Step 4. Remove the foam panels and then the heat exchanger from the unit by pulling the plastic strip running across the front of the heat exchanger.
Step 5. Carefully remove any dust from the heat exchanger with a household vacuum cleaner. Do not attempt the clean the heat exchanger with any fluids.
Step 6. Carefully reinsert the replacement heat exchange core into the unit and the foam panels.
Step 7. Reinsert both filters (change if necessary) and replace the front door ensuring all four screws are securely fastened. Also ensure the filter tabs on the front of the unit are securely fitted.
Step 8. Power the unit on at the isolator and ensure any supply circuits are reconnected.
Product Code: AS 90-09-906
If you have any questions regarding this procedure, please get in contact with the office on 02890616505 or hello@brookvent.co.uk
https://brookvent.co.uk/product/aircycle-1-3-house-ventilation-system/
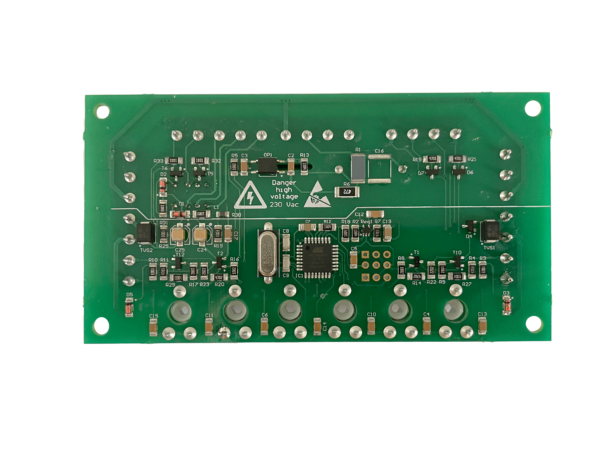
Brookvent Aircycle 1.2/1.3/1.3+ PCB Kit
In the unlikely event of an electronic PCB failure, the Aircycle 1.3’s PCB module can be disconnected and replaced.
Step 1. PCB replacement should only be completed by a qualified Electrician.
Step 2. Ensure all circuits are isolated before working on the unit.
Step 3. When handling the PCB’s ensure the devices are grounded to prevent electrostatic discharge from damaging the components.
Step 4. To locate the PCB in the correct position; line the feet A & B on the PCB along the edge of the enclosure as shown.
Step 5. Also line the edge of foot A shown against the yellow stand-off in the enclosure.
Step 6. This will ensure that the spindles line up with the holes in the enclosure lid.
Step 7. For inverted units (white label) line foot A up with the opposite edge and with the yellow stand off on the bottom right (i.e. the same position as the one being replaced).
Step 8. Wire the PCB as shown on the other page (note there are two sensors wired in the interface terminal, the unit may not work if only one is wired).
Step 9. When the unit is wired and fixed in place; insert the spindles in the potentiometers.
Step 10. To do this ensure all the potentiometers are turned fully anti-clockwise.
Step 11. Insert the spindles with the slot in the direction shown.
Step 12. Replace the cover and screw it in place.
Step 13. Re-connect the power.
Step 14. Recommission the system.
If you have any questions regarding this procedure, please get in contact with the office on 02890616505 or hello@brookvent.co.uk
https://brookvent.co.uk/product/aircycle-1-3-house-ventilation-system/